Of all the steps in a manicure, filing your nails might seem the most straightforward. Yet, it’s the foundation upon which everything else is built. A poorly filed nail can lead to breaks, snags, and a manicure that just doesn’t last. The secret lies not in strength, but in technique and the right tools. Let’s explore the simple art of filing your nails to perfection, ensuring they are not only beautiful but also strong and healthy.
The Essential Tools
Before you begin, it’s important to know your instruments. The right tool makes all the difference.
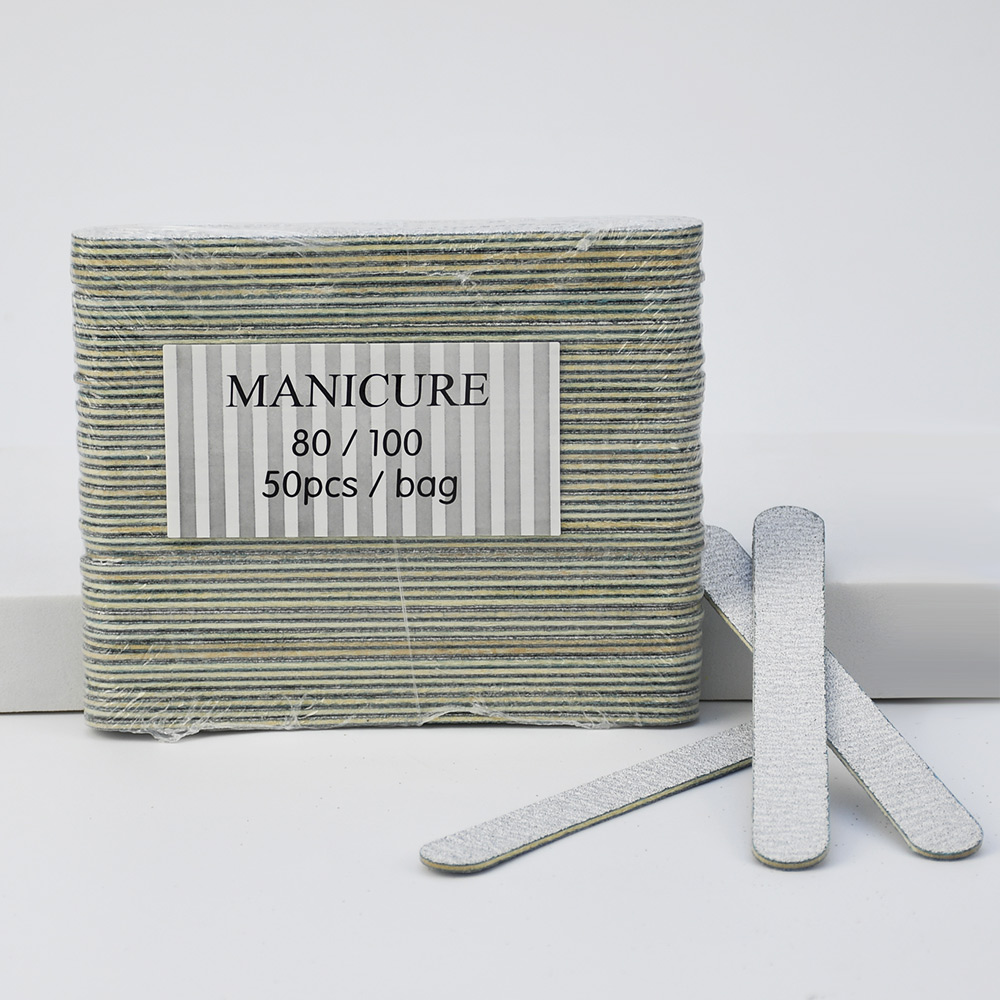
1. Manual Nail Files: These are the classic, handheld files you’re likely familiar with. They come with a “grit” rating, which indicates how coarse or fine the filing surface is.
- Coarse Grit (100-180): Best for quickly shortening artificial nails like acrylics or gels. Avoid using these on natural nails as they can be too harsh and cause peeling.
- Medium Grit (240-400): This is your go-to for shaping natural nails. It’s strong enough to shorten them effectively without being overly aggressive.
- Fine Grit (600+): Perfect for smoothing out rough edges after shaping and for a final polish. A “buffer” is an ultra-fine file (often 2000+ grit) used to create a shiny, smooth surface.
2. Electric Nail Files (E-Files): These are motorized tools, popular in salons and with nail enthusiasts. Their power and speed allow for precise shaping and efficient work on artificial nails. For home use, choose a model with a low speed setting to prevent damage.
3. Nail Bits: These are the attachments for electric files. They come in countless shapes and materials, each with a specific purpose.
- Carbide Bits: Great for removing gel polish or acrylic.
- Diamond Bits: Ideal for refining the nail shape, smoothing edges, and cuticle care.
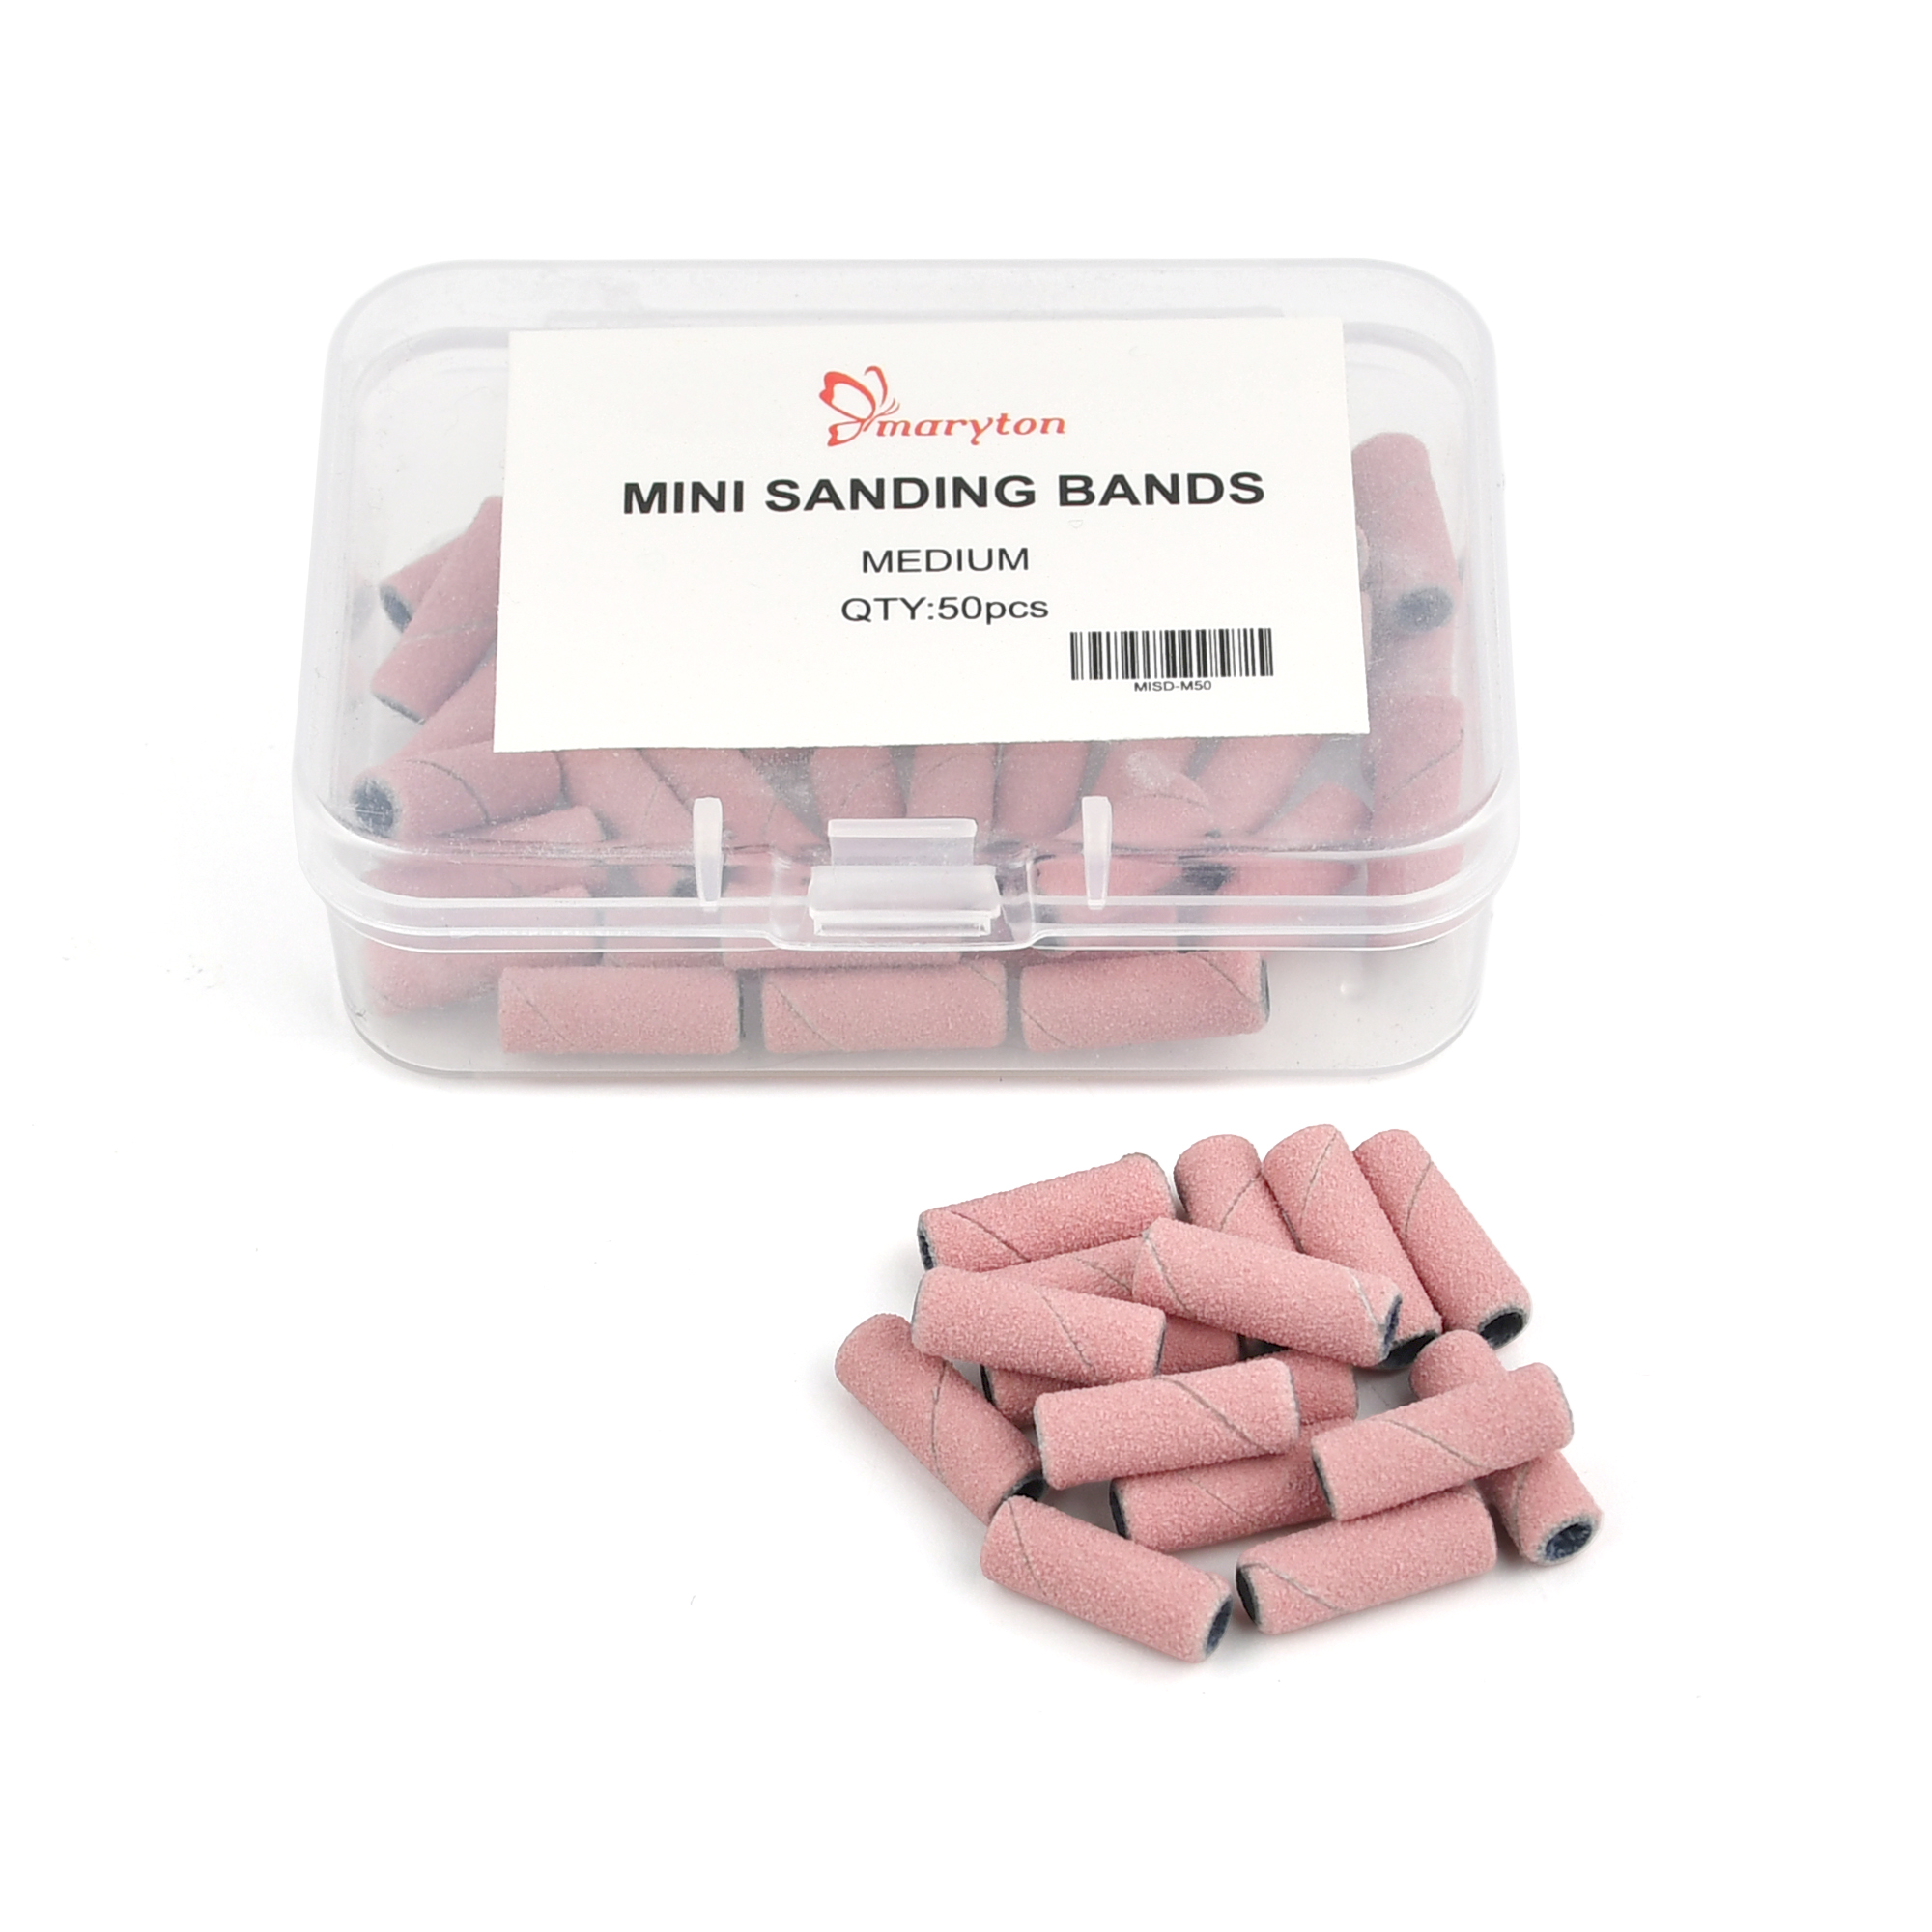
- Sanding Bands: Gentler options, similar to manual files, suitable for natural nails.
The Complete Guide to Filing Your Nails
Follow these steps for a salon-quality file at home.
Step 1: Prep Your Nails.
Start with clean, bare nails. Remove any old polish. If your nails are long, use nail clippers to trim them to a rough length first. This minimizes the amount of filing needed. Pro Tip: File your nails when they are dry. Wet nails are softer and more prone to bending and tearing during filing.
Step 2: Choose Your Shape.
Decide on your desired shape before you start. The most common are:
- Round: Follows the natural curve of your fingertip.
- Squoval: A square shape with softly rounded edges—great for strength.
- Oval/Almond: Elegant and elongating.
- Square: Classic and modern, but corners can be weak points.
Step 3: The Filing Motion – This is Key!
This is the most critical step to avoid damage. Always file in one direction only, from the side of the nail towards the center. Do not use a back-and-forth sawing motion. Sawing creates micro-tears in the nail layers, leading to peeling, weakness, and breakage.
Step 4: Shape with a Medium Grit File.
Using your manual file (medium grit) or a gentle bit on a low-speed e-file, begin to create your shape.
- For Square/Squoval: File straight across the free edge, then slightly round the corners.
- For Round/Oval: Start at the sides and file in a curved motion towards the center, rotating from one side to the other to create a symmetrical arch.
Work slowly and check your progress often. File each nail to match the others in length and shape.
Step 5: Smooth with a Fine Grit File.
Once you’re happy with the shape, switch to a fine-grit file or buffer. Gently run it along the edges and surface of the nail to smooth out any roughness. This will leave your nails feeling silky and prepare them for polish.
Step 6: Moisturize.
Wash your hands to remove any nail dust, then apply a nourishing cuticle oil or hand cream. Filing can be drying, so this final step is essential for healthy nails and skin.
How to File Correctly and Avoid Damage?
Protecting your nails is just as important as shaping them.
- The Golden Rule: One-Direction Filing. We cannot stress this enough. It is the single most effective way to maintain nail integrity.
- Don’t Over-File the Sides. Filing too far into the sides of the nail can weaken its structure and make it prone to breaking. Focus on the free edge.
- Be Gentle with the Tips. Avoid filing the very tip of the nail thin. It should feel smooth, not sharp or fragile.
- Match the Tool to the Task. Don’t use a coarse file meant for acrylics on your natural nails. Using a tool that is too aggressive is a fast track to damage.
- Know When to Stop. If your nail feels warm or you see a white, dusty spot forming, you are filing too aggressively in one area. Stop and move on.
Filing your nails is a simple act of self-care. With the right tools, a patient hand, and a gentle, one-directional technique, you can transform your nails from ragged to remarkable. Strong, well-shaped nails are the perfect canvas for any polish or a beautiful, healthy look all on their own. Your nails will thank you for the care.
Read also: Nail Reconstruction: What It Is, How to Perform It, and All the Steps
