You have picked the perfect polish, set aside an hour, and carefully painted each nail. Yet three days later, chips appear, edges lift, and your beautiful manicure is already failing. The culprit is almost never the polish itself. It is what you skipped before you even opened the bottle: nail preparation.
Skipping proper prep is the number one reason gel, acrylic, and even regular polish fails prematurely. This guide explains why preparation matters, which tools you need, how to do it step by step, and the benefits you will see immediately.
Why Prepare Your Nails Before Any Manicure?
Your natural nail plate is covered in a thin layer of oil, dead cuticle tissue, and microscopic dust. Polish cannot bond to oil. It simply sits on top, ready to lift or peel at the first sign of water or friction. Preparation removes these barriers and creates a clean, slightly textured surface that product can grip.
Proper prep also protects your nails from damage. When product lifts prematurely, many people pick or peel it off, tearing layers of natural nail along with it. A well‑prepared nail holds product securely until you are ready to remove it safely.
Essential Tools for Nail Preparation
You do not need a salon full of equipment. These core tools are enough:
- Cuticle pusher (metal or wooden) – to gently push back the proximal nail fold.
- Cuticle nipper – only for trimming loose, dead skin (never living cuticle).
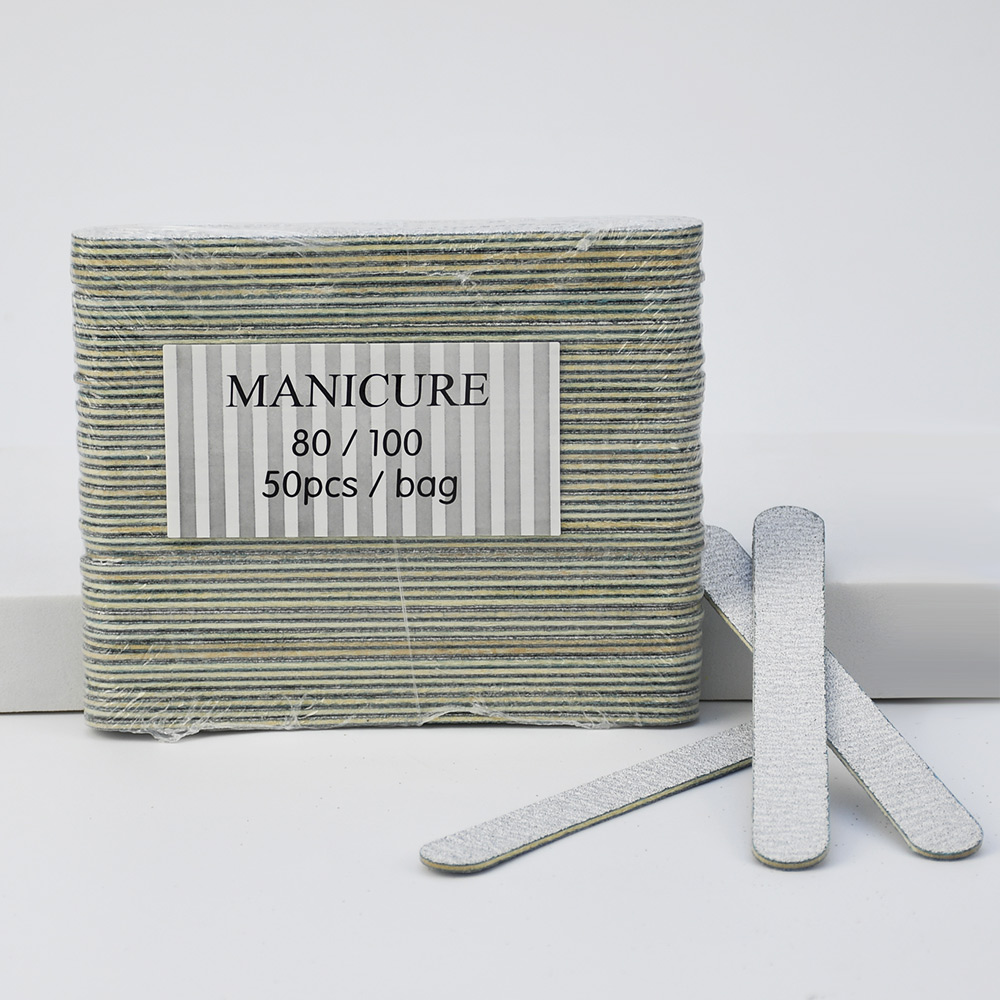
- Nail file (180‑240 grit) – for shaping and shortening.
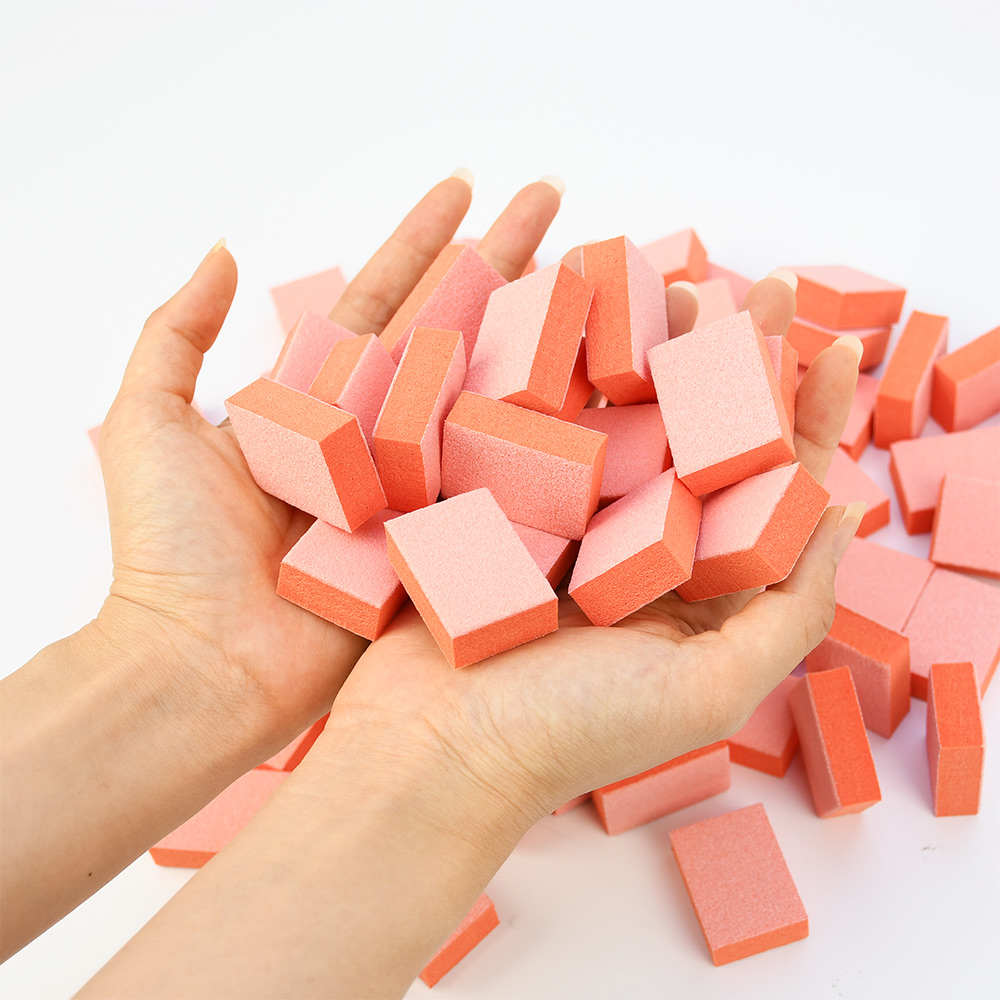
- Nail buffer (fine grit) – to remove shine without thinning the nail.
- Lint‑free wipes – no fibers left behind.
- Nail dehydrator or 91%+ isopropyl alcohol – removes oil and moisture.
- Dust brush – to clear away filing debris.
Step‑by‑Step Nail Preparation
Follow these steps in order. Rushing or skipping any step will cost you days of wear.
Step 1: Remove Old Product
Use acetone or a non‑acetone remover to take off every trace of old polish. Pay attention to sidewalls and the free edge – hidden residue creates bumps.
Step 2: Shape the Nail
File your nails to your desired length and shape. File in one direction only; sawing back and forth creates micro‑tears that lead to peeling. Use a fine grit nail file for natural nails. Save coarse files for acrylics.
Step 3: Tend to Cuticles
Soak fingertips in warm water for 2‑3 minutes or apply a cuticle softener. Gently push back the cuticle with your pusher, working from the center outward. Only trim loose, detached, dead skin with nippers. Never cut living tissue – it is your nail’s protective seal and cutting it invites infection.
Step 4: Clean Under the Free Edge
Use the pointed end of your cuticle pusher or an orangewood stick to gently remove debris from under the nail tip. Do not scrape aggressively – that thins the nail bed.
Step 5: Buff the Surface
Lightly buff the entire nail plate with a fine buffer block. You are removing shine, not thinning the nail. Two or three gentle passes are enough. The nail should look matte, not glossy. Over‑buffing weakens nails and makes them sensitive.
Step 6: Remove All Dust
Use a dust brush or a lint‑free wipe to clear away every particle of nail dust. Any dust left on the nail will create bumps and act as a barrier.
Step 7: Dehydrate
Wipe each nail with nail dehydrator or isopropyl alcohol on a lint‑free wipe. This removes natural oils, moisture, and any remaining residue. After this step, do not touch your nails – skin oils transfer instantly and will ruin adhesion.
The Benefits of Correct Nail Preparation
When you consistently prepare your nails the right way, you will notice:
Longer wear. Gel and regular polish last days or weeks longer because they have something real to grip.
Less lifting and chipping. Edges stay sealed, and polish does not peel away from the cuticle.
Healthier natural nails. Clean, gently buffed nails are less prone to breakage, and you avoid the damage caused by picking at lifted product.
Professional finish. A smooth, even surface means no bumps or streaks showing through your color.
Faster application. When your canvas is perfect, you spend less time fixing mistakes and more time enjoying your manicure.
The Bottom Line
Nail preparation is not an optional extra – it is the foundation of every successful manicure. Ten minutes of careful work before you open your polish saves you hours of frustration and reapplications later. Invest in quality tools, follow the steps in order, and your nails will reward you with strength, longevity, and a flawless finish every time.
Read also: Milky Nails: The Ultimate Guide to the Sheer White Manicure Trend
