Get a salon-worthy French manicure without leaving your couch? It’s possible, provided you have the right techniques… and the right manicure and pedicure sets. Nail preparation, thin and precise application of the white or colored border, glossy finish: every step counts for a clean, long-lasting result. We’ll guide you, step by step, to achieve your perfect French manicure at home, without stress or messing up.
The French manicure: what is it?
A made-in-the-USA invention, a “so French” style
Contrary to what you might think, the French manicure doesn’t come from Paris but from… Los Angeles! It was apparently created in the 70s by Jeff Pink, founder of the Orly brand, to meet the needs of Hollywood studios: to ensure that actresses didn’t have to change their nail polish with every outfit change. The result: hands with a neutral, refined, versatile style… and perfectly photogenic on the red carpet. Called “French Manicure,” it simply refers to that je ne sais quoi attributed to French women. It’s this elegant, discreet, and versatile aura that will make it a worldwide success.
One technique, infinite variations
The recipe for the French manicure: a nude, white, or slightly pink base, topped with an ultra-thin white border. Enough to enhance nails with a clean, neat, and discreet effect… As a bonus, the French manicure flatters all nail shapes: short, long, rounded, square, or almond-shaped… making it suitable for special occasions (hello brides!) as well as everyday wear. With classic or semi-permanent nail polish, it remains a sure bet.
Prepare your nails like in a salon
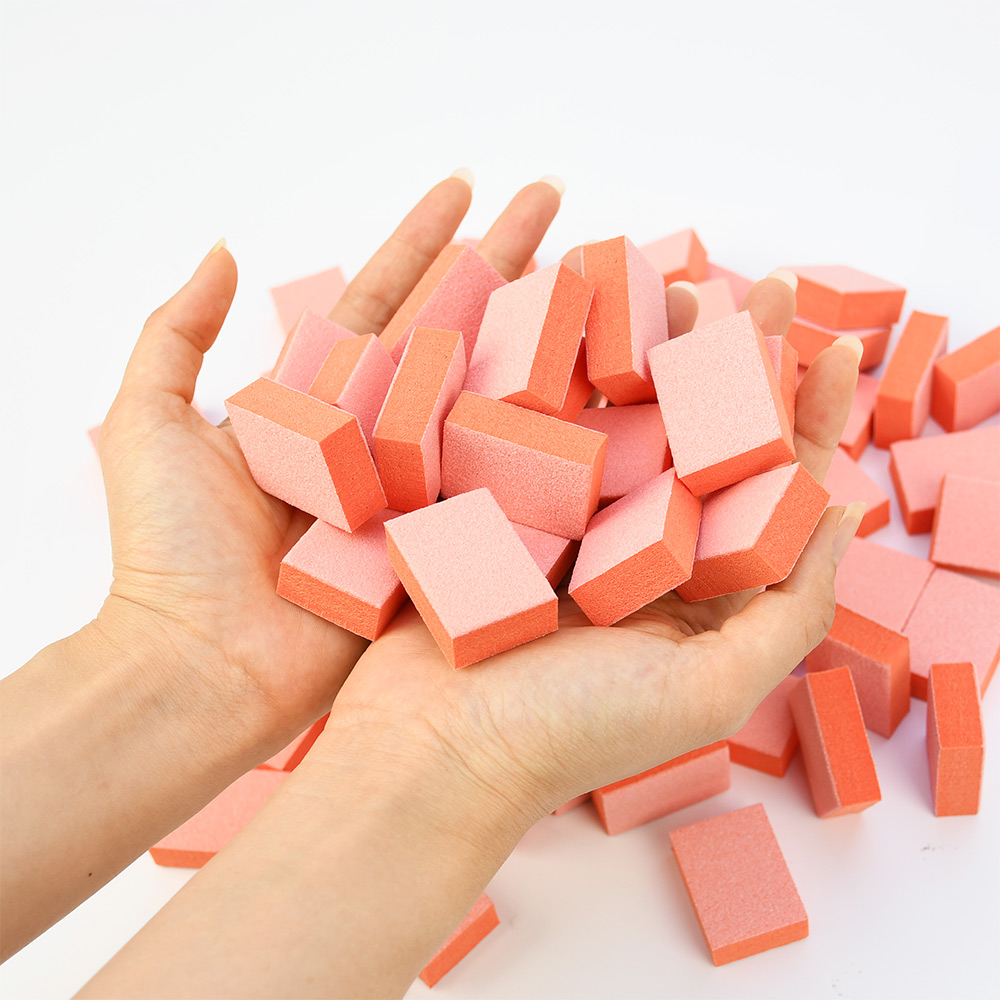
File your nails with a soft nail file specifically for natural nails, giving them the desired shape: square, rounded, oval, almond, etc. Then, gently soften your cuticles before pushing them back with a cuticle pusher. Then, buff the surface with our buffing block to smooth and ensure your nail polish stays put.
Protect and enhance
Apply a protective base coat, depending on the type of nail polish chosen. Let it dry, then apply your nude base coat followed by a white or colored line. Finish with a top coat to set the nail art, depending on the type of nail polish chosen.
Essential French Manicure Accessories
If you’re a nail art addict, you’ll have no trouble tracing the smile on your French manicure using a nail art liner brush, the ideal tool for mini French manicures in particular.
If you’re new to the art of the French manicure, you’ll love the Mani Stamper, French manicures have never been easier. Thanks to it, you can finally apply the white (or colored) line without trembling and achieve your French manicure in just a few seconds.
Before you begin, make sure you have all the necessary equipment at hand. Applying the product is ultra-intuitive: apply a layer of polish directly onto the Mani Stamper’s silicone stamp, then gently press the edge of the nail onto the polish to create the French manicure. The silicone stamp adapts perfectly to the shape and curve of the nail for an ultra-precise French manicure. For perfectionists: finish with a nail art brush to refine the curve.
Be careful not to place the nail vertically but at an angle, as the stamp is fragile.
Classic or twisted, minimalist or glittery, the French manicure continues to demonstrate its incredible ability to adapt to all nail shapes and styles. It’s a true chameleon of nail art, which has lost none of its charm… even giving itself a little modern treatment. Whether you’re teaming nude or delicate pink nail polish or even a bold pop of color, all you have to do is choose your favorite shades, whip out your Mani Stamper and let your creativity express itself. Sometimes all it takes is a line to make all the difference.
Read also: The Effortlessly Elegant French Manicure: Your Classic Nail Companion