If you scroll through social media or browse celebrity Instagram accounts, you might notice a recurring theme: perfectly manicured nails that aren’t quite white, but rather a soft, translucent shade that resembles a glass of milk. This is the trend known as “milky nails,” and it has become the go-to look for minimalists and fashion lovers alike.
Here is everything you need to know about this elegant style, from what it is to how you can create it at home.
What Are Milky Nails?
Milky nails are exactly what they sound like: a nail finish that mimics the appearance of milk. They are characterized by a semi-sheer, milky white or soft nude tone that is neither fully opaque nor completely clear. Think of it as the manicure equivalent of a crisp white shirt—effortlessly chic and polished.
This look is often described as “your-nails-but-better.” It provides a wash of color that brightens the hands while still allowing a hint of the natural nail bed to show through, creating a soft, “glassy,” and porcelain-like effect . You might also hear them referred to as “milk bath nails”.
Why Are They So Popular?
The rise of milky nails is closely tied to the growing demand for “quiet luxury” and “clean girl” aesthetics. In a world of loud neons and intricate nail art, milky nails offer a serene and sophisticated alternative.
Here’s why they’ve become a favorite:
- Universally Flattering: The sheer milky tone complements every skin color and nail length, from short squares to long almonds.
- Incredibly Versatile: They are subtle enough for the office or a business meeting, yet elegant enough for a wedding. They work year-round, looking fresh in summer and cozy in winter.
- Low Maintenance: Because the look is natural and sheer, it grows out gracefully without the harsh line that comes with opaque polishes, making it last longer between salon visits.
- Celebrity Approved: Stars like Hailey Bieber, Jennifer Lopez, Zendaya, and Sofia Richie Grainge have all been spotted sporting this chic manicure, cementing its status as a timeless trend.
How to Create Milky Nails: A Step-by-Step Guide
Achieving milky nails is surprisingly simple, whether you use regular polish or gel. The key is building up color slowly to achieve that perfect sheer finish.
Step 1: Prep Your Nails
Start with a clean canvas. File your nails into your desired shape (almond and oval are popular choices) and push back your cuticles. Gently buff the surface of your nails to remove shine, which helps the polish adhere better. Finish by cleaning the nails with a polish remover or cleanser to eliminate any oil or dust. Always apply a base coat to protect your natural nails from staining.
Step 2: Apply the Milky Color
This is where the magic happens. Apply a thin layer of your chosen milky polish. Don’t worry if it looks too sheer at first—that’s the goal. Cure if using gel, or let it air dry. For more coverage, apply a second thin coat. The trick is to stop when you have a “cloudy” or milky effect, not a solid, opaque white. If you want a warmer look, you can add a touch of sheer pink or rosé gel to the center of the nail and blend it out before curing.
Step 3: Seal with Shine
A high-gloss finish is essential for the perfect milky nail. Apply a generous layer of glossy top coat to seal your color and add that wet-look shine that makes the manicure pop. Cure or let dry according to your product’s instructions.
Step 4: Hydrate
Finish by massaging cuticle oil into your nails and the surrounding skin. This adds a final touch of nourishment and enhances that clean, well-groomed “clean look”.
What Tools and Colors Do You Need?
Essential Tools:
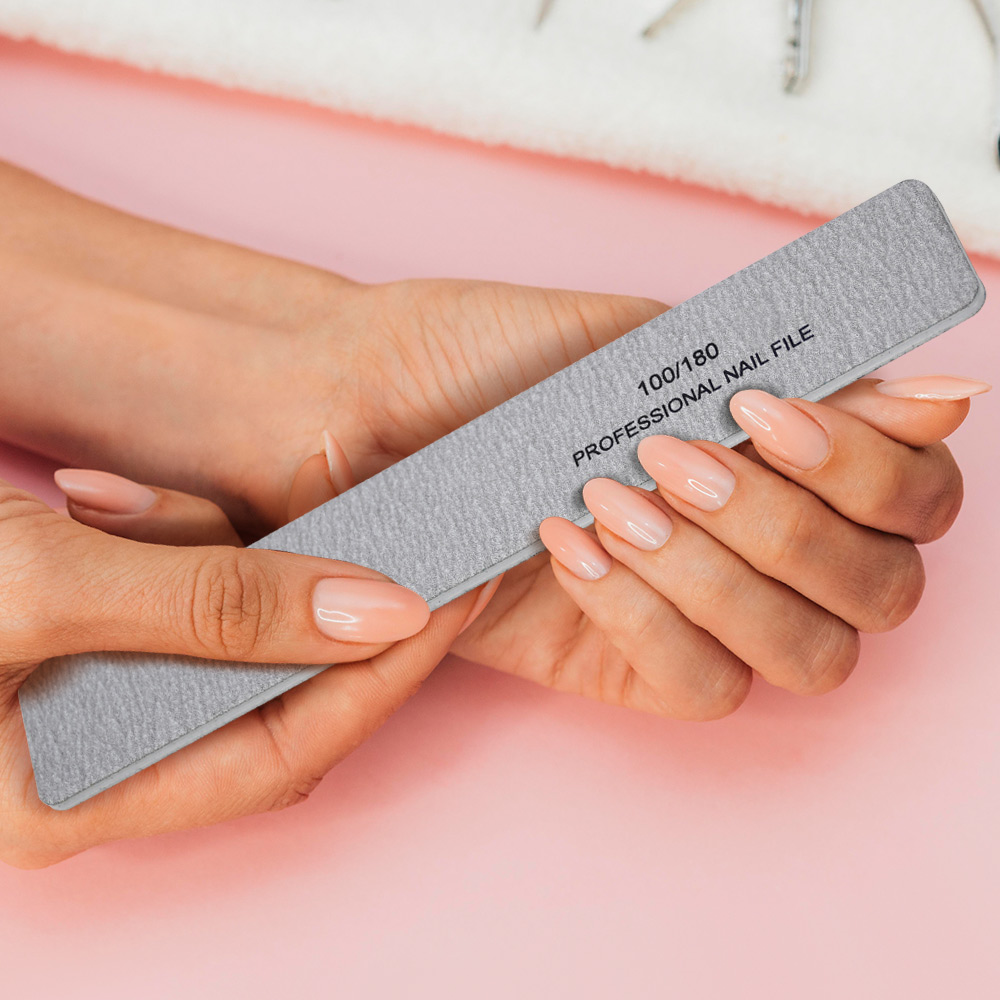
- Nail File and Buffer: For shaping and smoothing the nail surface.
- Cuticle Pusher: To tidy up the cuticle area.
- Base Coat and Glossy Top Coat: Non-negotiable for protection and that signature shine.
- Your Milky Polish: The star of the show.
- UV/LED Lamp: If you are using gel polish.
- (Optional) Makeup Sponge: Some DIYers use a sponge to dab and blend polish for a softer, more diffused look.
Choosing the Perfect Milky Color:
The beauty of milky nails is in the subtle variations of color. You can choose based on your preference:
- Classic Milky White: A true, semi-sheer white. This is the most iconic version of the trend.
- Oat Milk: This shade tends to be a touch warmer and slightly more opaque, sometimes with a hint of beige or ivory.
- Almond Milk: For a warmer, more neutral look, almond milk nails feature beige or nude undertones that are closer to the skin.
- Strawberry Milk: A dainty, soft pink hue with a sheer finish, reminiscent of a strawberry milkshake.
You can also create your own custom shade by adding a single drop of opaque white polish to a clear or sheer nude top coat .
Final Thoughts
Milky nails are more than just a trend; they are a testament to the power of simplicity. With their clean, elegant, and universally flattering finish, they are the perfect way to achieve a polished look that always feels fresh and modern. Whether you opt for a classic milky white or a warmer almond milk shade, this is one manicure you’ll want to keep on repeat.
Read also: Filing nails: tools and techniques guide